David Burton May 11, 2020
https://medium.com/macoclock/prioritizing-processes-on-your-mac-within-terminal-ecb8c2fdebd3
Let’s keep everything simple. For the purposes of this article, I am going to refer to a computer as a single entity made up of processors, ram, a hard drive, maybe a GPU, and at least one monitor. That Macbook or whatever it is sitting in front of you is the computer I will refer back to.
This article will show you how to immediately boost the performance of your computer by prioritizing processes. The benefits of prioritizing tasks may become more apparent after analyzing a bit of how a computer works. Well, we all have to-do lists, and each item on that list has its own degree of importance. In this regard, your computer is no different. If I were to give a very literal person a to-do list of 100 tasks and said that everything is of the utmost importance and must begin immediately. The only task that a person would be able to complete is to stare at the list, followed perhaps with a nervous breakdown.
Your computer is the most literal worker that has ever existed. It requires explicit instruction. Without the prioritization of tasks, a computer simply does not have the resources to complete complex instructions. Each task, a process, is given a priority-level and access to a ration of your computer’s resources. This process is given an ID number, referred to as a PID.
What is a PID? A PID, process identification, is a unique number assigned to a process. The init (first process ran by the system) will have a PID of 1, and the default maximum PID is 32,728 on a Linux system. Having said that, my macOS Catalina Version 10.15.3 came with a limit set at 1392/uid by default.
We can and should tell a computer the priority of a task. Remember, computers are not smart, they cannot guess or make judgment calls. Therefore each process, as it is created, will be assigned the default priority level of 0 along with its PID. Many times a task will create subtasks as a part of its program. A task that has created subtasks is now called a parent, and the PID number remains the same, but it is now recognized as a PPID (parent process ID).
Your computer runs a lot of tasks at any given time, and it would be a waste of your time to allocate resources manually for each task as they occur. System performance is optimized by assigning the proper priority level to a PPID. The parent process will, in turn, distribute the resources towards its subprocesses.
Let’s begin prioritizing tasks!
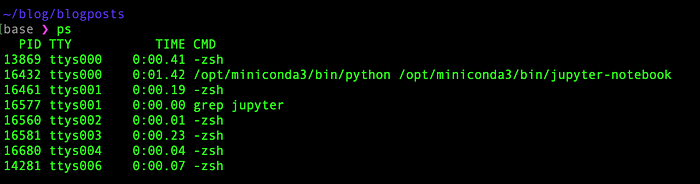
Process Status- displays the running processes with their PID.
example:
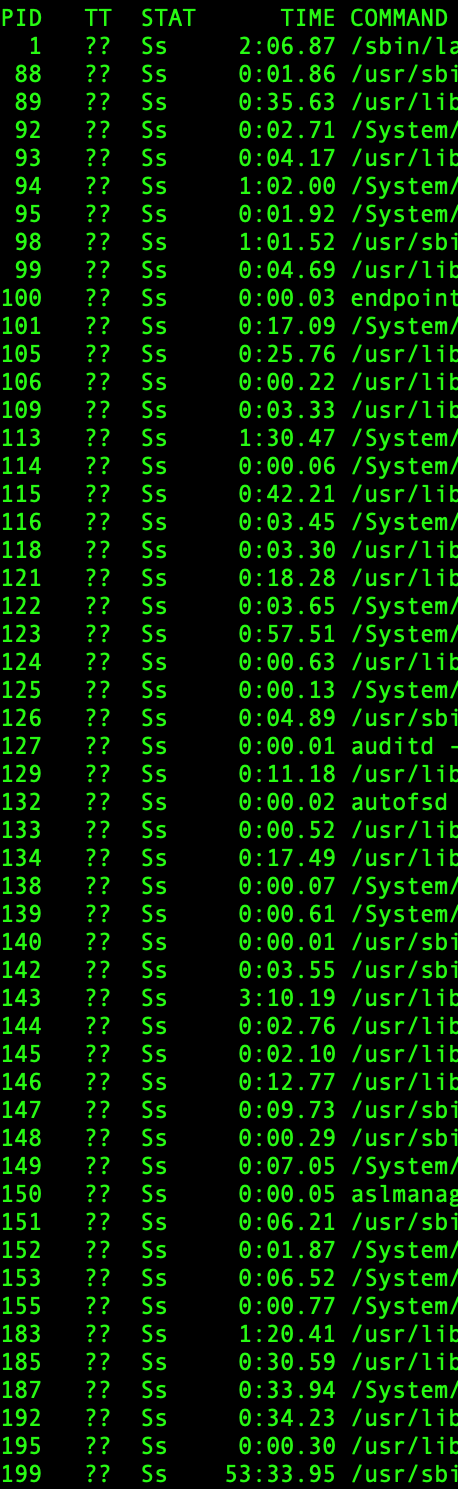
ps
ps ax
To find a specific process within a long output try adding the grep search command
grep-a Unix command used to search files for the occurrence of a string of characters that matches a specified pattern.
example:
ps | grep jupyter

ps aux | grep jupyter
To see the processes using the most resources try running “top”
top
An active display of the processes using the most resources will run, hit control+C to stop.
Assign a priority level to a task before it begins by using the “nice” command. with priority being any whole number within the range of -20 to 20.
nice -n <priority> <command> <arguments to command>
To assign a priority level to an already running process use the “renice” command.
renice -n <priority> <pid>
Depending on user permission you may need to use the SUDO (superuser) prefix. The below example takes the 16432 process and assigns a priority level of -10. Which is a pretty high priority since most processes default to 0.
sudo renice -n -10 "16432"
You may be prompted to enter the password of the superuser to use the SUDO command. Be careful assigning priority levels to tasks, moderation is key until you become more familiar with everything. Avoid setting anything to -20 or 20 unless you are extremely confident in with the usages.